Keep Your Lashes Curled All Day with These Tricks
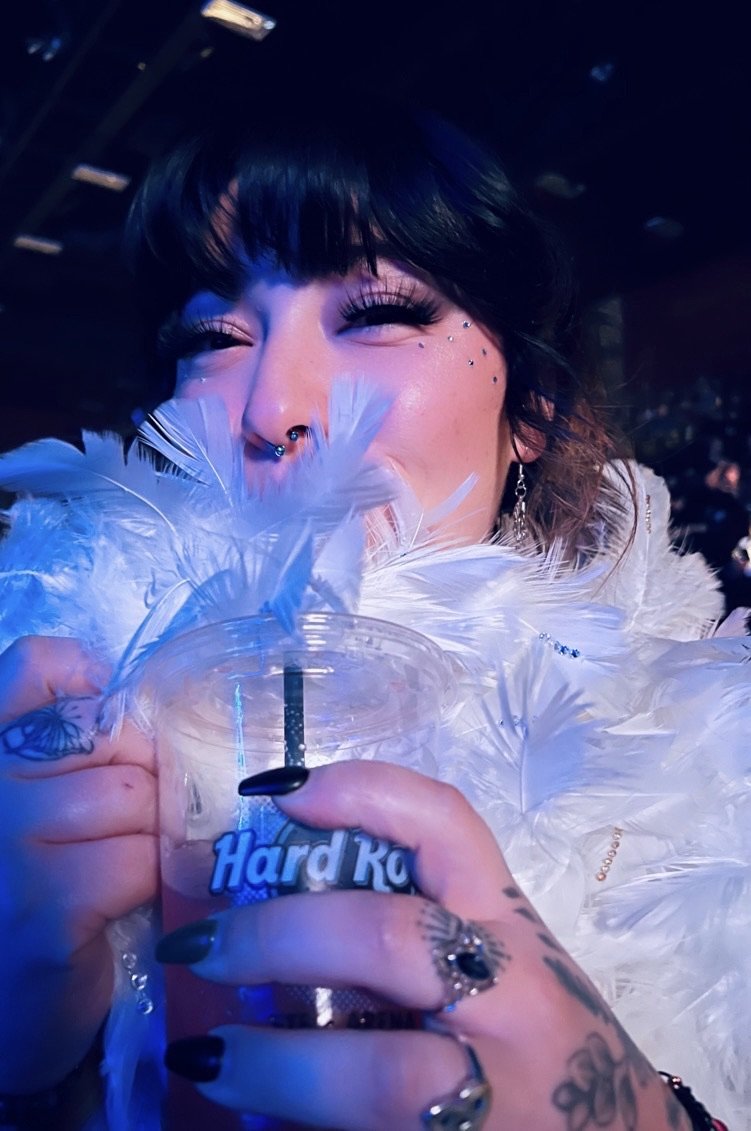
Image Via Dupe Photos
If you're a fan of curled lashes, you know the struggle of trying to get them to stay in place for more than a few hours.
You spend time carefully curling your lashes, only for them to fall flat shortly after.
It can be frustrating, but the good news is that there are a few simple things you can do to help your lashes hold their curl for longer.
In this blog post, we'll be sharing five expert tips for long-lasting lash curls.
From using the right eyelash curler to applying a lash curling primer or setting mascara, these tricks will help you achieve the perfect curl that stays put all day (or night) long.
Say goodbye to floppy lashes and hello to stunning, curled lashes that turn heads!
1) Start with clean, dry lashes.
Start with clean, dry lashes. Before you start curling your lashes, it's important to make sure they are clean and dry.
Any oils on your lashes can weigh them down and prevent them from holding a curl.
If you have makeup on your lashes, be sure to remove it thoroughly before curling. You can use gentle makeup remover or eye makeup remover wipes to do this.
It's also important to wait until your lashes are completely dry before curling them.
If you try to curl your lashes while they are still damp (for example, after showering or washing your face), they may not hold the curl as well.
Give your lashes time to air dry, or gently pat them dry with a clean towel before curling.
By starting with clean, dry lashes, you'll be setting yourself up for success in getting your curls to stay in place for longer.
2. Use a quality eyelash curler.
Use a quality eyelash curler. The quality of your eyelash curler can make a big difference in how well your lashes hold their curl.
A poorly designed or old curler may damage your lashes and cause them to straighten out quickly.
On the other hand, a gentle, high-quality curler can help to create long-lasting curls without causing any harm to your lashes.
When shopping for an eyelash curler, look for one that has a smooth, even clamp and is gentle on your lashes.
Some curlers come with silicone pads rather than traditional metal ones, which can be more gentle on your lashes and help to prevent breakage.
You may also want to consider an eyelash curler that has a slightly curved shape, as this can help to curl your lashes more effectively.
In addition to choosing a quality curler, be sure to use it correctly.
Place the curler as close to the base of your lashes as possible (without pinching your skin), then gently squeeze and hold for a few seconds.
Repeat this process in the middle and at the tips of your lashes for an even, all-over curl.
By using a good-quality curler and using it properly, you'll be well on your way to achieving long-lasting curls.
Image Via Dupe Photos
3. Use a lash curling primer or a setting mascara.
A lash curling primer is a product that is applied before mascara and helps to create a long-lasting curl.
These primers typically contain ingredients that help to hold the curl in place and can make a big difference in how long your curls stay put.
To use a lash curling primer, simply apply it to your clean, dry lashes before curling them as you normally would.
Alternatively, you can use a setting mascara (sometimes called a "curling mascara") after curling your lashes to help set the curl in place.
These mascaras contain polymers that help to hold the curl and can give your lashes a longer-lasting curl.
To use a setting mascara, simply curl your lashes as you normally would, then apply the mascara to your curls.
Be sure to let the mascara dry completely before moving on to the next step in your makeup routine.
Whether you choose to use a lash curling primer or a setting mascara, these products can be a game-changer in helping your curls stay in place for longer.
Give them a try and see the difference they can make!
4. Curl your lashes in multiple stages.
Curl your lashes in multiple stages.
Instead of trying to curl your entire lash line all at once, break it up into three sections: the base, the middle, and the tips.
Start at the base of your lashes and hold the curler for a few seconds, then move to the middle of your lashes and hold for a few seconds, and finally curl the tips of your lashes. This method helps to ensure that all of your lashes are evenly and adequately curled.
When curling your lashes in stages, be sure to hold the curler in place for long enough to create a strong curl.
This may take a few seconds longer than you're used to, but it will be worth it for the long-lasting curls. You may also want to gently squeeze and release the curler a few times in each section to create a more pronounced curl.
By curling your lashes in multiple stages, you'll be able to achieve a more even, all-over curl that stays in place longer. Give it a try and see the difference it makes!
READ MORE LIKE THIS:


The aesthetic that is all about healthy choices and the beautiful earth