
How to Get Beachy Waves Without Heat Damage
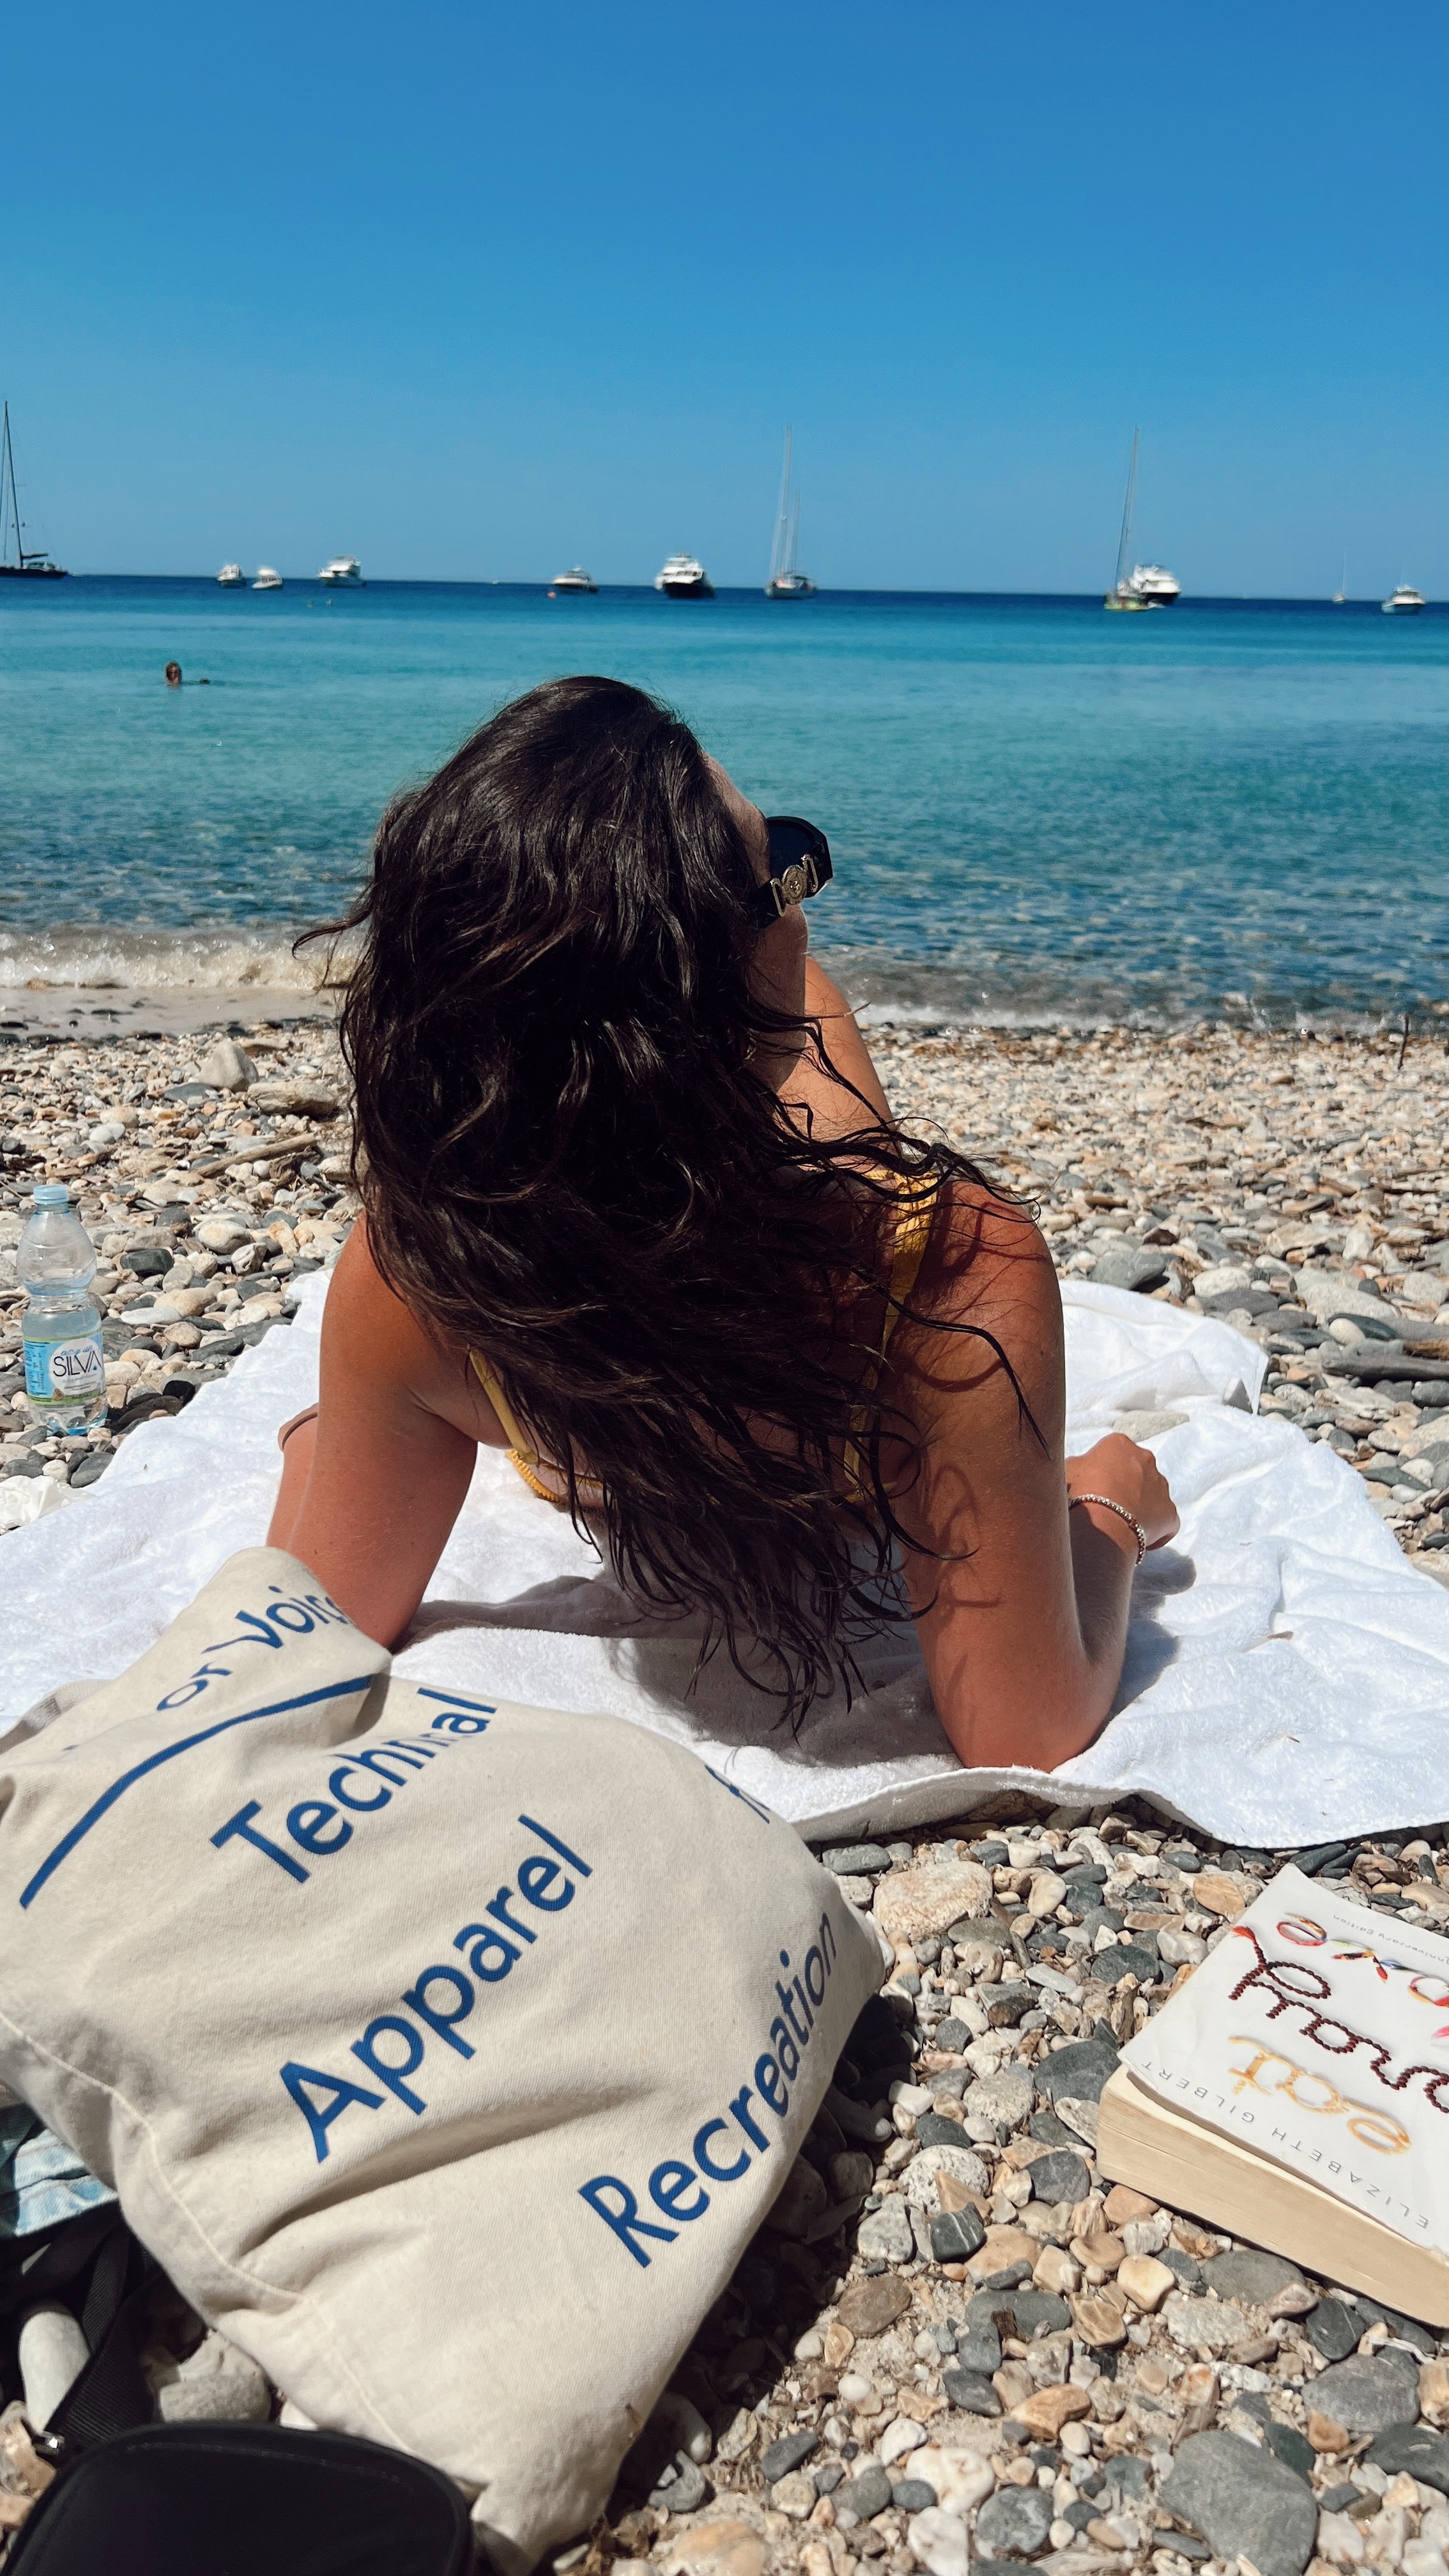
Image via Dupe Photos
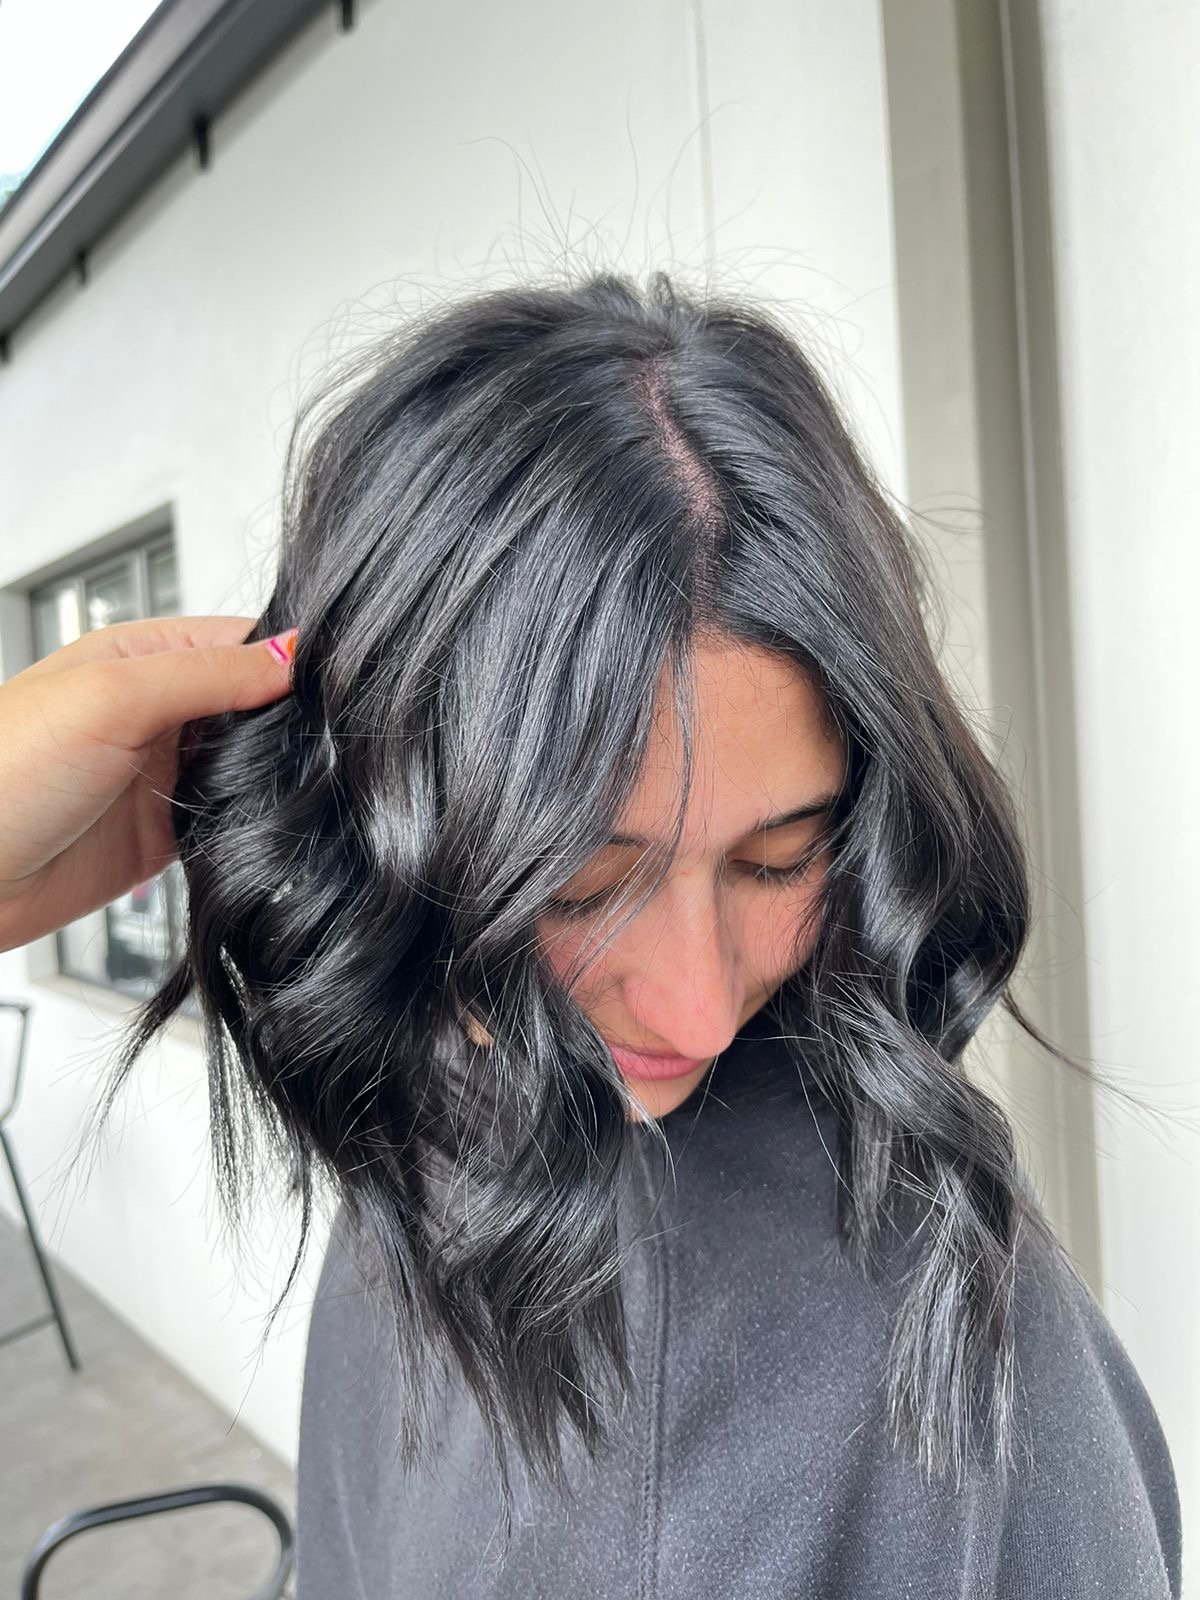
Embrace Your Natural Waves
Are you tired of using heat-styling tools that damage your hair in pursuit of those coveted beachy waves? Well, you're in luck! With some simple techniques and a little bit of creativity, you can achieve stunning beachy waves without any heat damage. Say goodbye to the frying of your locks and hello to effortless, natural-looking waves that will make you feel like a mermaid!
Ditch the Heat and Save Your Hair
Using heat-styling tools like curling irons, straighteners, or hair dryers on high heat can cause serious damage to your hair. The excessive heat can strip your hair of its natural moisture, leaving it dry, brittle, and prone to breakage. Over time, this can result in split ends, frizz, and overall hair damage.
But fear not! There are plenty of alternatives to heat-styling that can give you beautiful beachy waves without sacrificing the health of your hair. Let's dive into some heat-free methods that will help you achieve those dreamy waves while keeping your locks in tip-top shape.

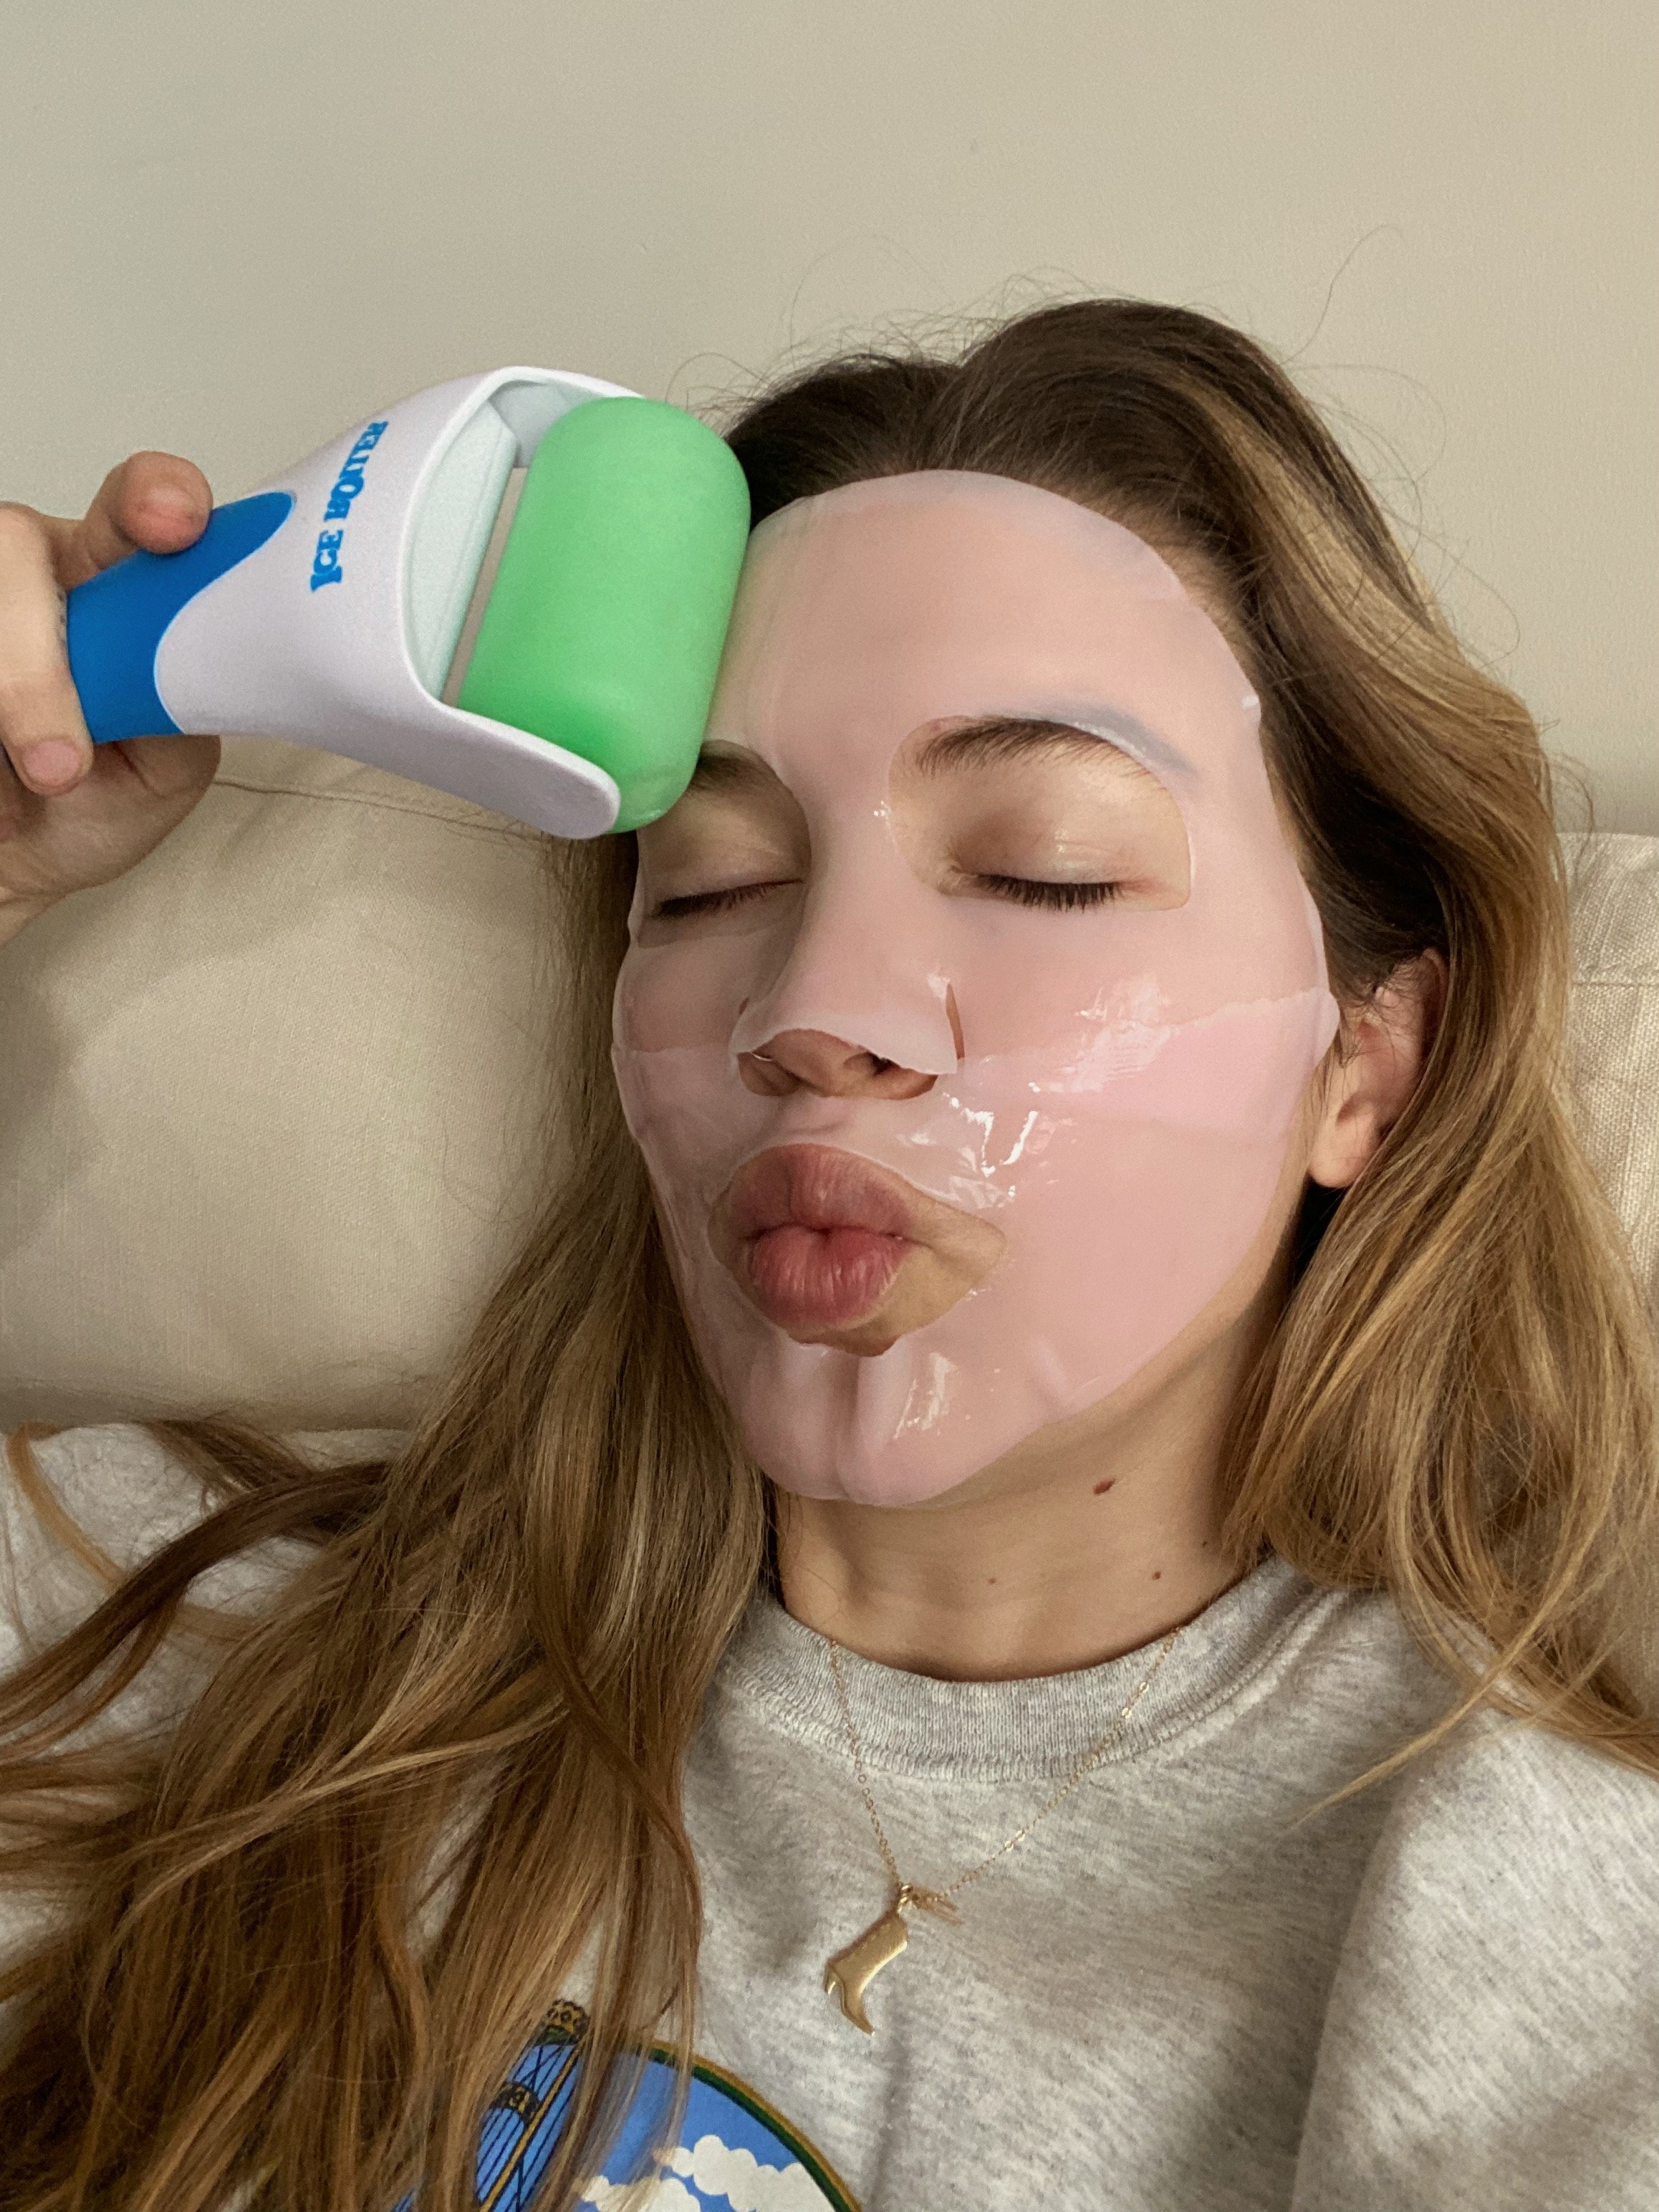
Image Via Dupe Photos
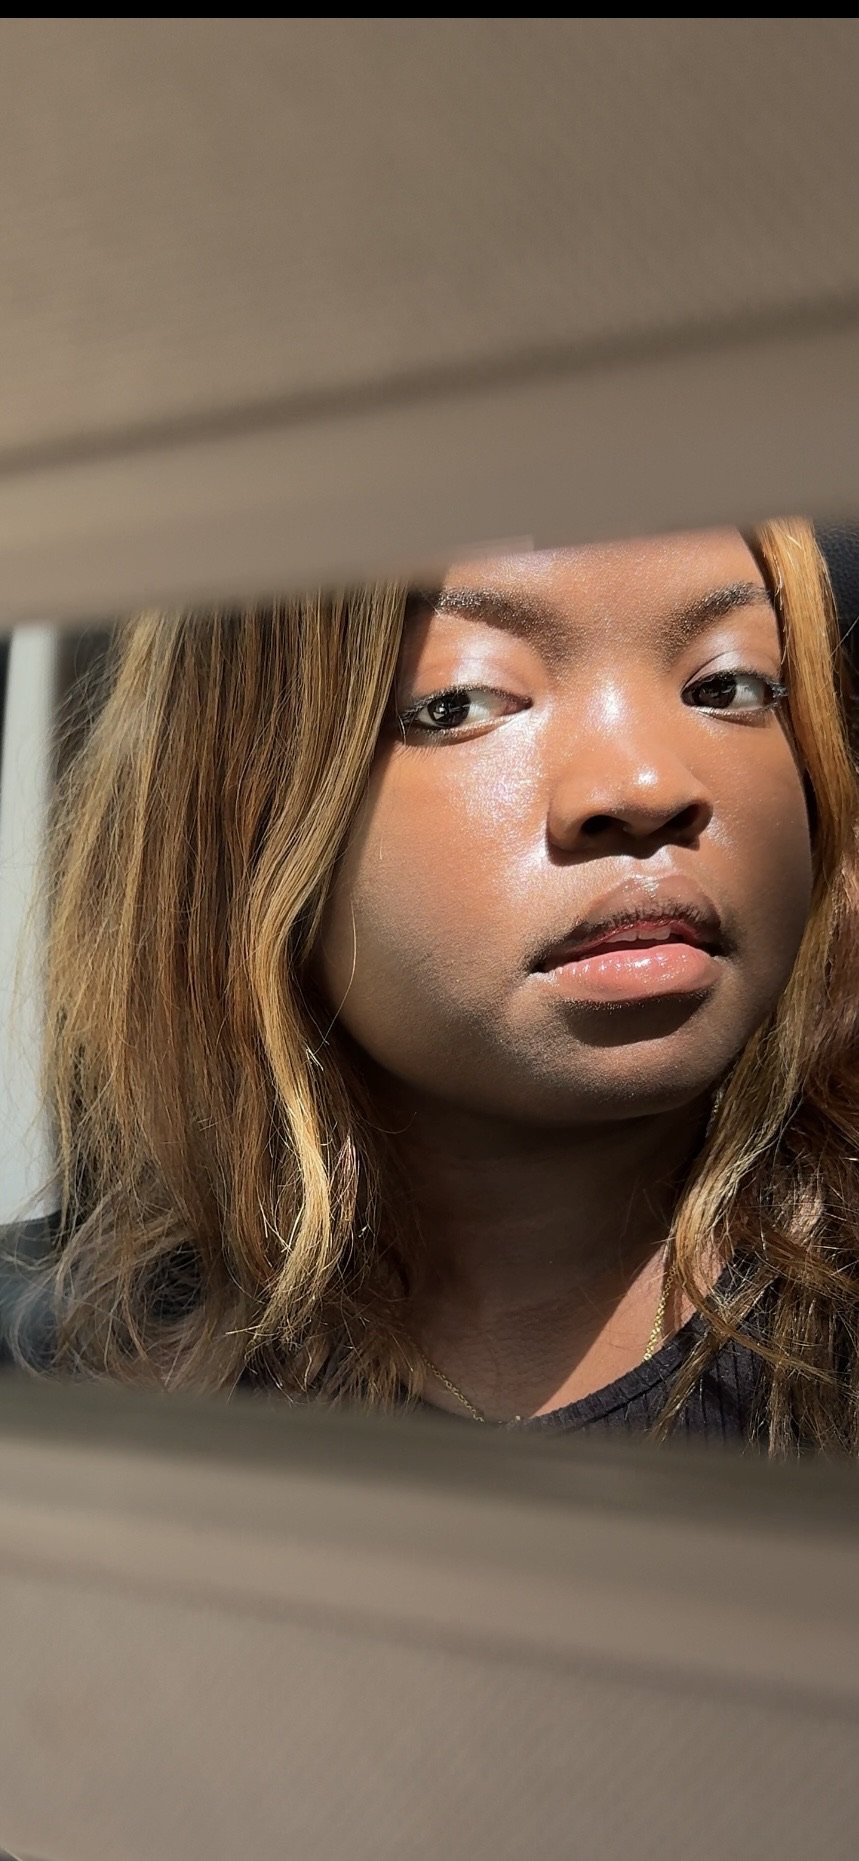
How to Get Beachy Waves Without Heat Damage
Method 1: Braids for Effortless Waves
One of the simplest and most effective ways to achieve beachy waves without heat damage is by using braids. Here's how you can do it:
Step 1: Wash and condition your hair as usual. Apply a lightweight, curl-enhancing mousse or texturizing spray to damp hair to help hold the waves.
Step 2: Part your hair into two sections, left and right. You can also create more braids if you want smaller waves.
Step 3: Take a section of hair from one side and start braiding it tightly, all the way down to the ends. Repeat on the other side.
Step 4: Secure the ends of the braids with hair ties or bobby pins.
Step 5: Leave the braids in overnight or for at least 6-8 hours to allow the waves to set.
Step 6: Carefully unravel the braids and use your fingers to tousle the waves. Avoid using a brush or comb, as it can disrupt the natural texture.
Step 7: Finish with a spritz of salt spray or texturizing spray to enhance the beachy look and set the waves in place.
Tips and Tricks
For tighter waves, create smaller braids. For looser waves, opt for larger braids.
Experiment with different types of braids, such as French braids or fishtail braids, to achieve different wave patterns.
If you're short on time, you can use a hairdryer on the lowest heat setting to speed up the drying process. Just make sure to keep it on low heat to avoid heat damage.
For added volume, tease the roots of your hair before braiding.
Sleep on a satin or silk pillowcase to reduce friction and prevent frizz.

Method 2: Twists for Effortless Waves
Another easy and heat-free method to achieve beachy waves is by using twists. Here's how you can do it:
Step 1: Wash and condition your hair as usual. Apply a lightweight, volumizing mousse or cream to damp hair to add texture and hold.
Step 2: Part your hair into two sections, left and right.
Step 3: Take a small section of hair from one side and twist it tightly away from your face. Continue twisting all the way down to the ends.
Step 4: Secure the twisted section with a hair tie or bobby pin.
Step 5: Repeat the twisting process with the remaining sections of hair on both sides.
Step 6: Leave the twists in overnight or for at least 6-8 hours to allow the waves to set.
Step 7: Gently unravel the twists and use your fingers to separate the waves. Avoid using a brush or comb to maintain the natural texture.
Step 8: Finish with a spritz of sea salt spray or texturizing spray to enhance the beachy look and lock in the waves.
Tips and Tricks
For tighter waves, twist smaller sections of hair. For looser waves, opt for larger sections.
Experiment with different directions of twists, such as twisting towards your face or away from your face, to create varied wave patterns.
If you're short on time, you can use a diffuser attachment on your hairdryer to speed up the drying process. Just remember to keep it on low heat to avoid damage.
Apply a little bit of hair oil or serum on the ends of your hair before twisting to keep them moisturized and prevent frizz.
Try sleeping with a silk or satin scarf or bonnet to protect the twists and reduce friction.
Method 3: Overnight Bun for Effortless Waves
You can also achieve beautiful beachy waves without heat by creating an overnight bun. Here's how you can do it:
Step 1: Wash and condition your hair as usual. Apply a lightweight, curl-enhancing cream or foam to damp hair for added texture.
Step 2: Flip your hair upside down and gather it into a loose, high ponytail on the top of your head.
Step 3: Twist the ponytail into a loose bun and secure it with a hair tie or bobby pins.
Step 4: Leave the bun in overnight or for at least 6-8 hours to allow the waves to set.
Step 5: Carefully unravel the bun in the morning and use your fingers to separate the waves.
Step 6: Finish with a spritz of texturizing spray or hairspray to hold the waves in place.
Tips and Tricks
For tighter waves, create a smaller bun. For looser waves, opt for a larger bun.
Experiment with different bun placements, such as a low bun or side bun, to create different wave patterns.
To add more definition to the waves, you can twist or braid the ponytail before creating the bun.
If you have shorter hair, you can create multiple smaller buns all over your head for more uniform waves.
For added volume, tease the roots of your hair before creating the bun.
Beachy waves are a timeless and effortless hairstyle that can be achieved without subjecting your hair to heat damage.
By following the heat-free methods discussed in this article, such as braids, twists, or overnight buns, you can achieve beautiful beachy waves that are gentle on your hair and perfect for any occasion.
Remember to use heat protectant products, experiment with different techniques to suit your hair type, and have fun styling your hair in a heat-free and healthy way.
Say goodbye to heat damage and hello to stunning beachy waves!
READ MORE LIKE THIS:


Bye-bye bad skin advice! Hello healthy, glowing skin!